
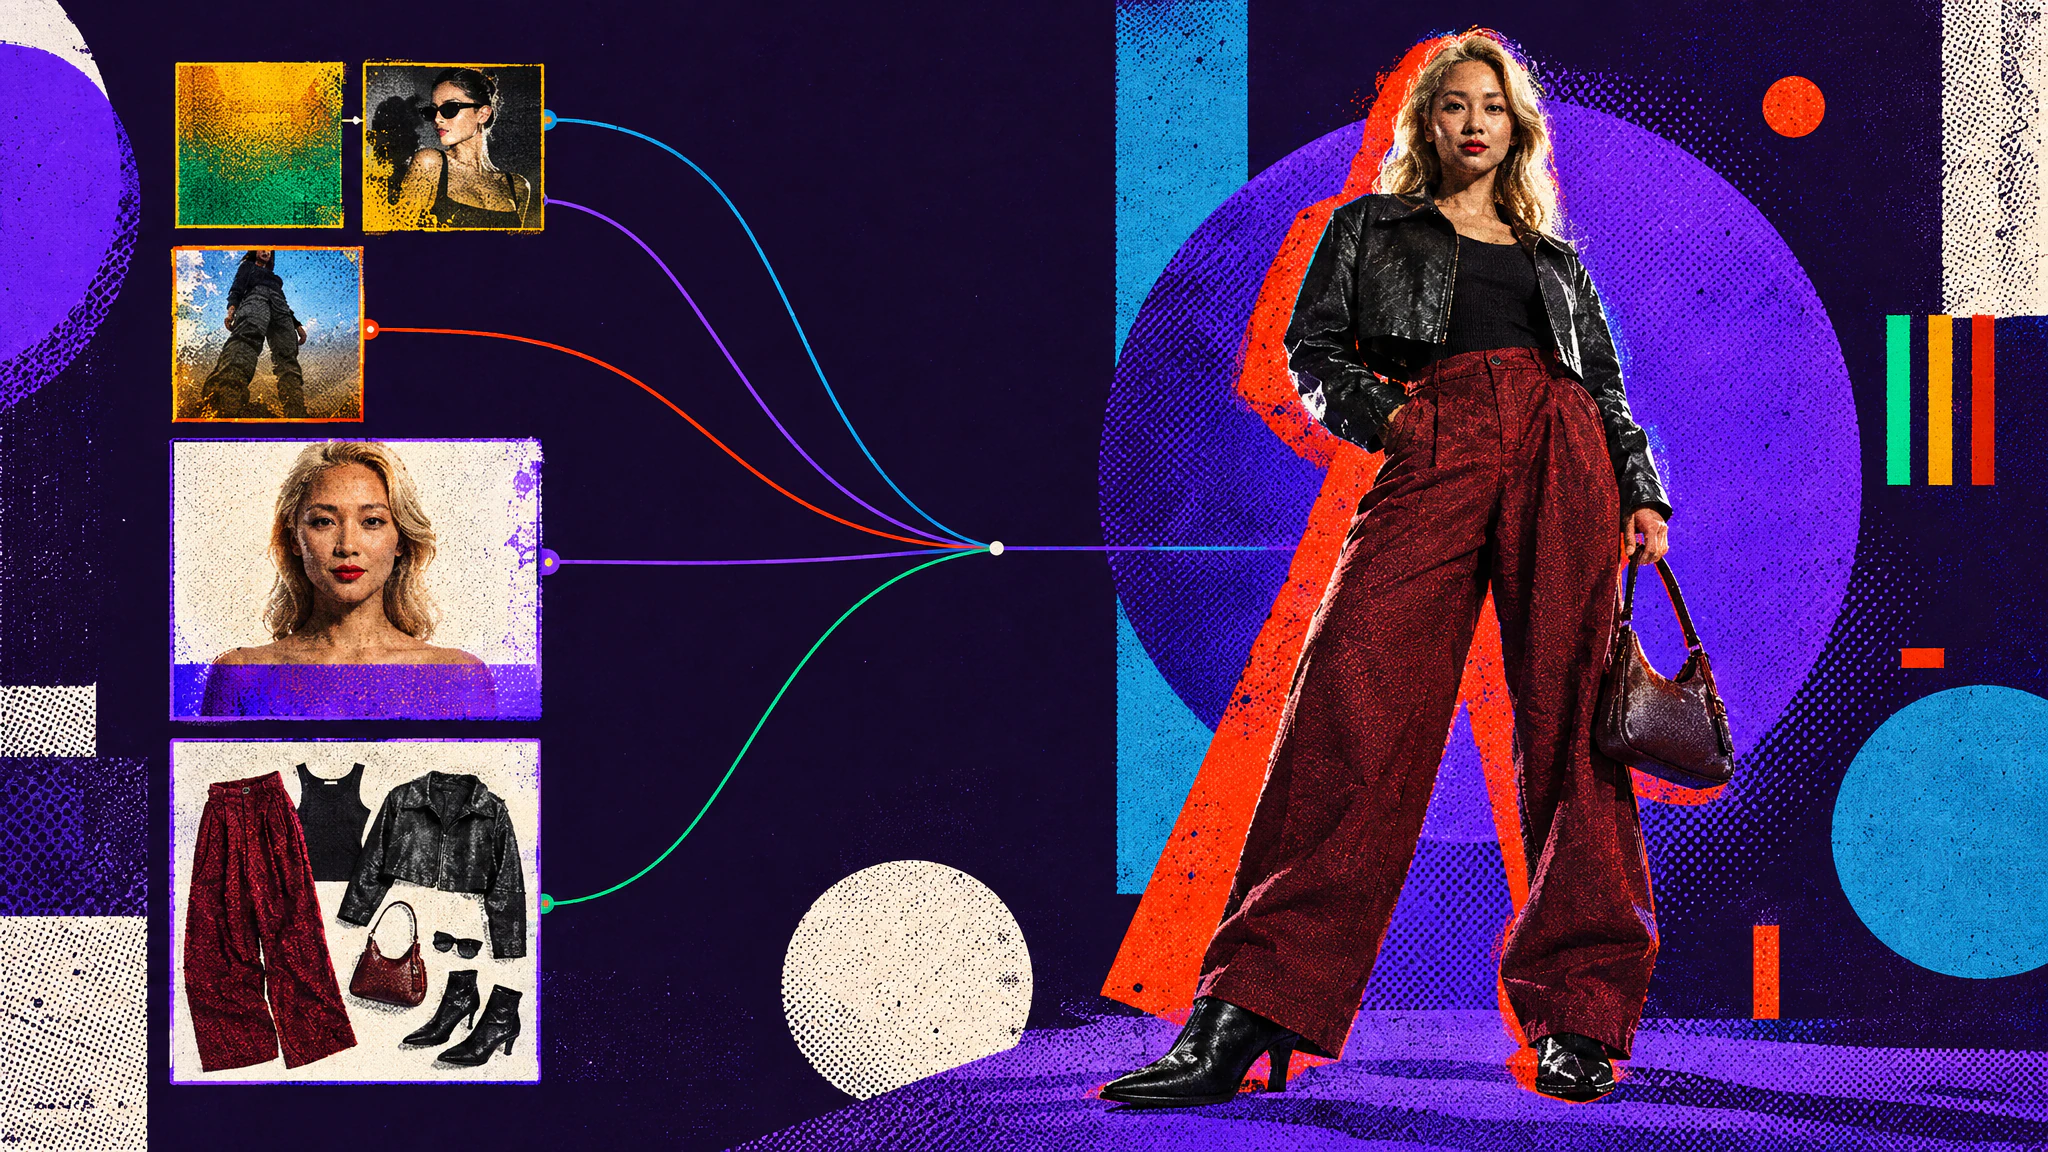
When you create characters for a campaign or a film, there are a lot of decisions to make: the face, the age, the hair, the outfit, the colours, the location, the light.
With AI image generation, all of these usually end up in a single prompt, and changing one often changes the others. Avatar mode keeps them separate: you define the identity first, create the outfits on their own, then combine them.
Let’s go through a full example, from the first portrait to a character sheet you can reuse in other generations.
Casting: focus on faces first
In the Portrait submode, you define the identity of your character. The avatar builder has presets for each attribute: age, ethnicity, skin tone, hair and makeup. Pick them, then generate with several image models at once.
Each model gives a different take on the same description, so you can compare them side by side and keep the one you like.
The clothes in the portrait don’t matter. They’re not kept when you combine the character with an outfit.
Styling: create the outfits
The Outfit submode generates flat lays: all the pieces of an outfit laid out, ready to use on any character.
Here, one outfit snippet with the colours left as a variable gives three different outfits. You can also start from image references, or extract an outfit from any photo.
Putting them together
Avatar Composer combines an identity and an outfit. The environment, lighting and framing come from snippets, like any other generation in Hylope.
Since the face and the outfit are separate, you can change one and keep the other: a new outfit on the same character, or the same outfit on someone else.
Learn how to create your own
The tutorial goes through each submode step by step, with the full video:
Photos and snippets as inputs
The inputs don’t have to be generated.
From a real photo
Here, the identity comes from a character snippet, and the outfit from a real photo.
From snippets only
You can also use snippets only: a character, an outfit and a colour palette are enough to try ideas quickly.
Changing the style
A style changes how the character is rendered. Here, the same identity and outfit as a fashion sketch, useful for a pitch deck or a first presentation.
Keeping the character consistent
Character sheets
A character sheet shows your character from several angles in one image. You can then use it as a reference for new images: here, Chloe’s sheet with a framing and a lighting snippet gives a new shot of her on a tennis court.
Lineage
Every image keeps its lineage, so you can always see which portrait and which outfit it came from, and keep going with edits and upscales.