
This walkthrough takes you from a new account to a finished image in a few minutes.
Create your account
Sign up
Go to app.hylope.com/signup. Click Continue with Google, or enter your email address and click Continue with email. With email, Hylope sends you a one-time code: type it in to confirm the address.
Choose a workspace region
Add your name and pick where your first workspace stores its data: Europe, Asia-Pacific or North America. Choose the one closest to you and your team. The region cannot be changed later for this workspace. If you signed up with email, also choose a password here, for signing in later.
Confirm the region, confirm you’re 18 or older and accept the Terms of Service, then click Activate Account.
Start with free credits
A new account gets 100 free credits, once, with no expiry. They work with image and audio models; video needs a plan. Your balance shows in the header. See plans & credits for how credits work.
The first time you open Create, a welcome window lists the Getting started tutorials. You can reopen it any time from News in the account menu.
Make an image
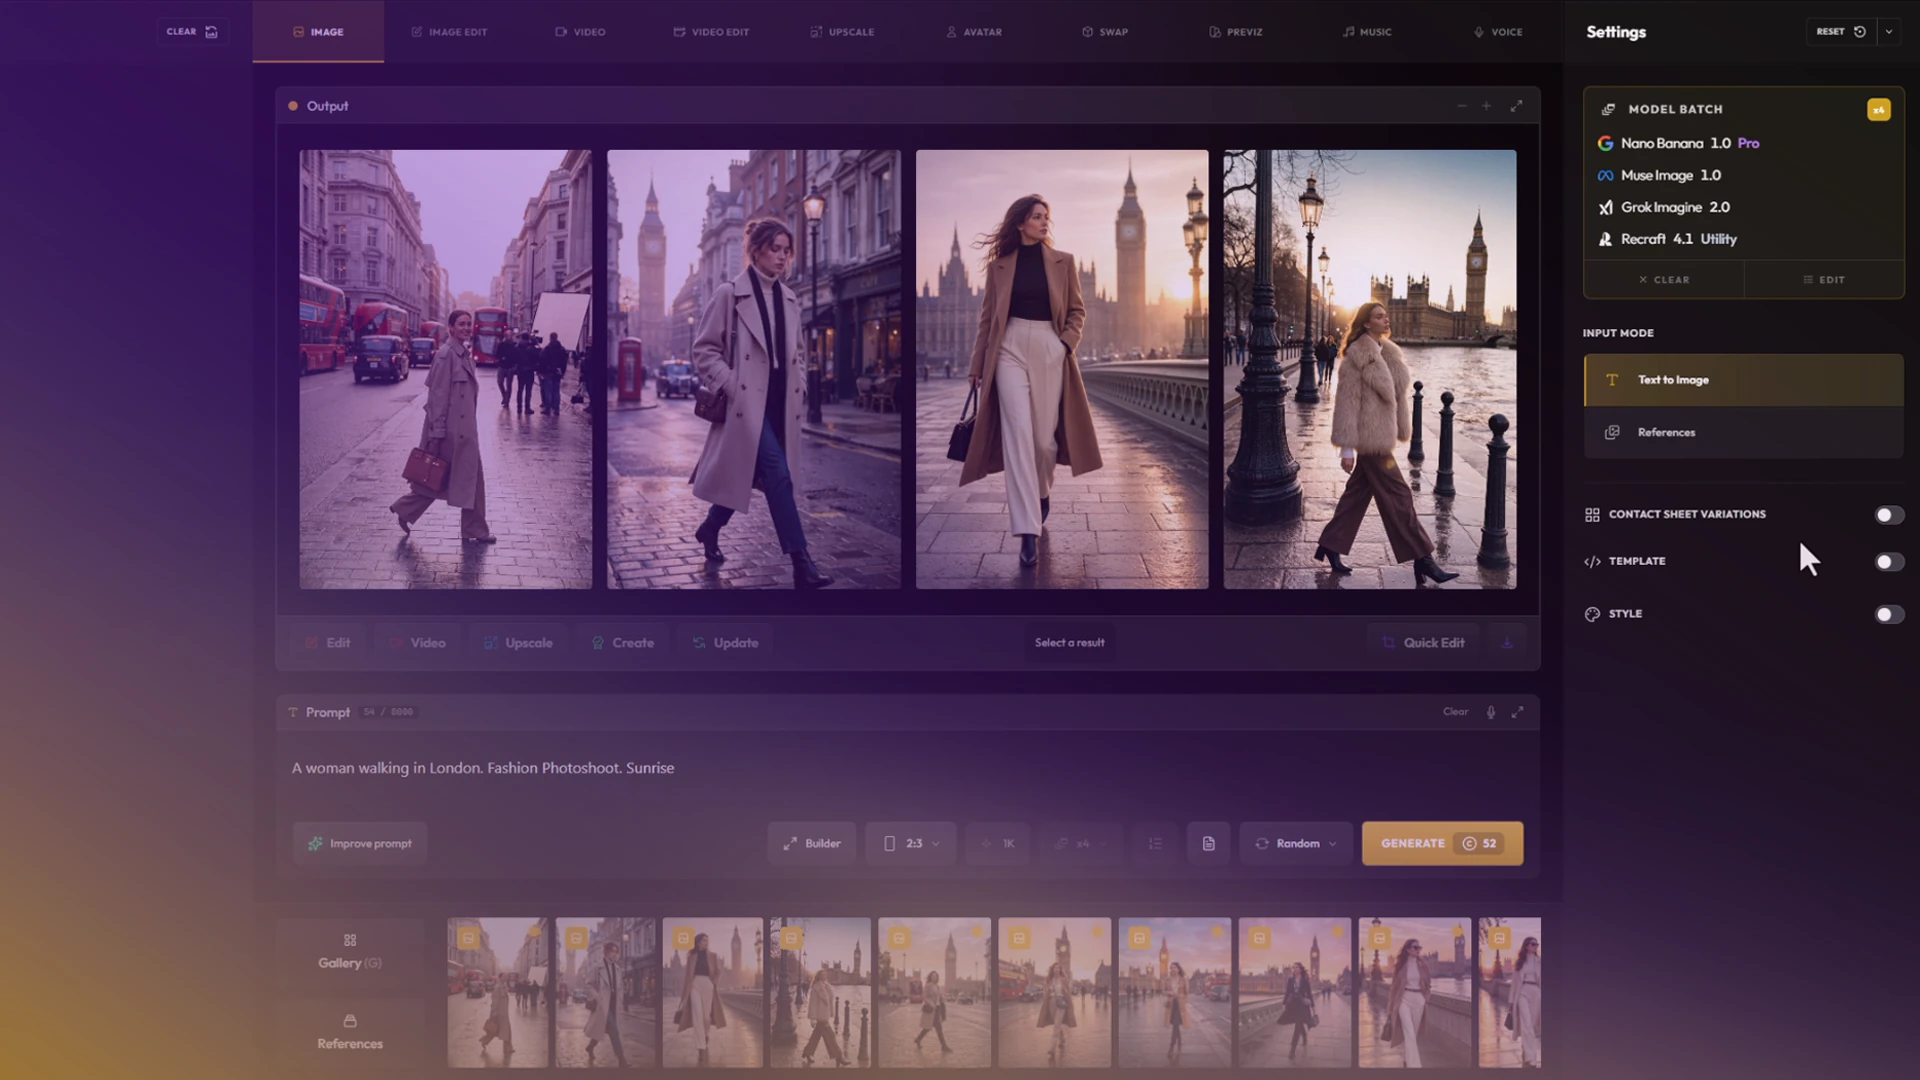
Open Create on the Image tab
Create opens on Image, with Text to Image selected and ChatGPT Image 2.5 Flare as the model. You can keep it or click the model card at the top of the settings panel to choose another.
Write a prompt
Describe what you want in the prompt bar, for example:
A ceramic vase on a linen table, soft window light from the left, shallow depth of field. Type@to add a snippet from the built-in presets.Set the ratio and size
The pills in the prompt bar set the ratio, the size and the number of images. Leave them as they are for a first try.
Generate
Press Enter or click Generate. The button shows how many credits the run costs. The job appears in the output area right away and fills in when the image is ready.
Find it again
Every result is saved to your library as soon as it finishes.
- Press G in Create to open the full gallery, or switch to the Gallery app to search and filter everything you have made.
- Click an image to open the lightbox: a large preview with the prompt, the model, the settings and the credits it used.
- In the lightbox, press R to load that image’s settings back into Create, change one thing, and generate again.
Next steps
TutorialGetting Started35 min
Get started with the Hylope interface
Hylope is a workspace, not a chat: one layout for every mode, built for dragging images between gallery, inputs and results. Learn your way around it and create your first image.